Character Animator Update


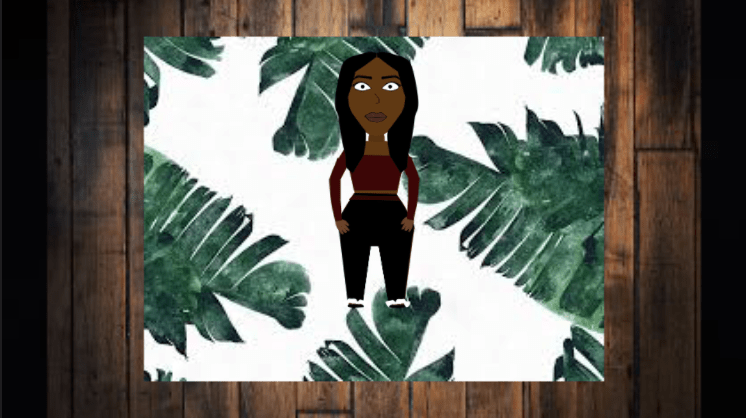
For my character I added more characteristics and details. I created everything using the pen tool. The pen tool allowed me to create shapes to make the character’s body. After creating the shape I always use the Direct Selection Tool. It allows me to touch up anything I drew. With also using those tool I got to create clothes for my character.
Color Correction


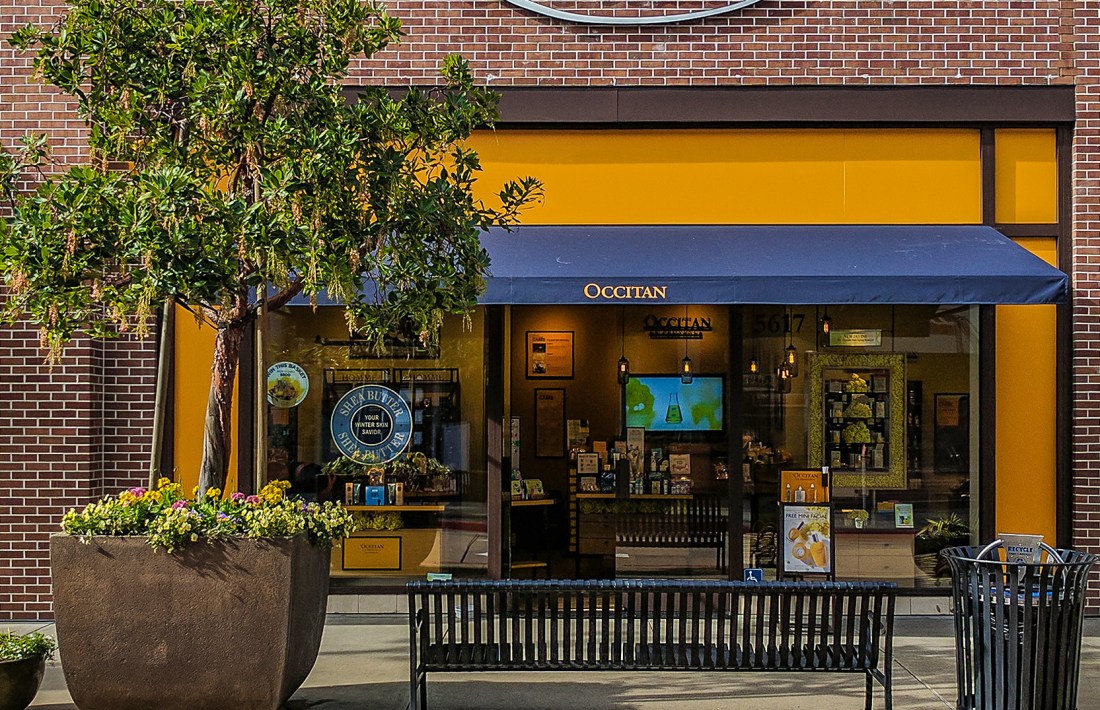
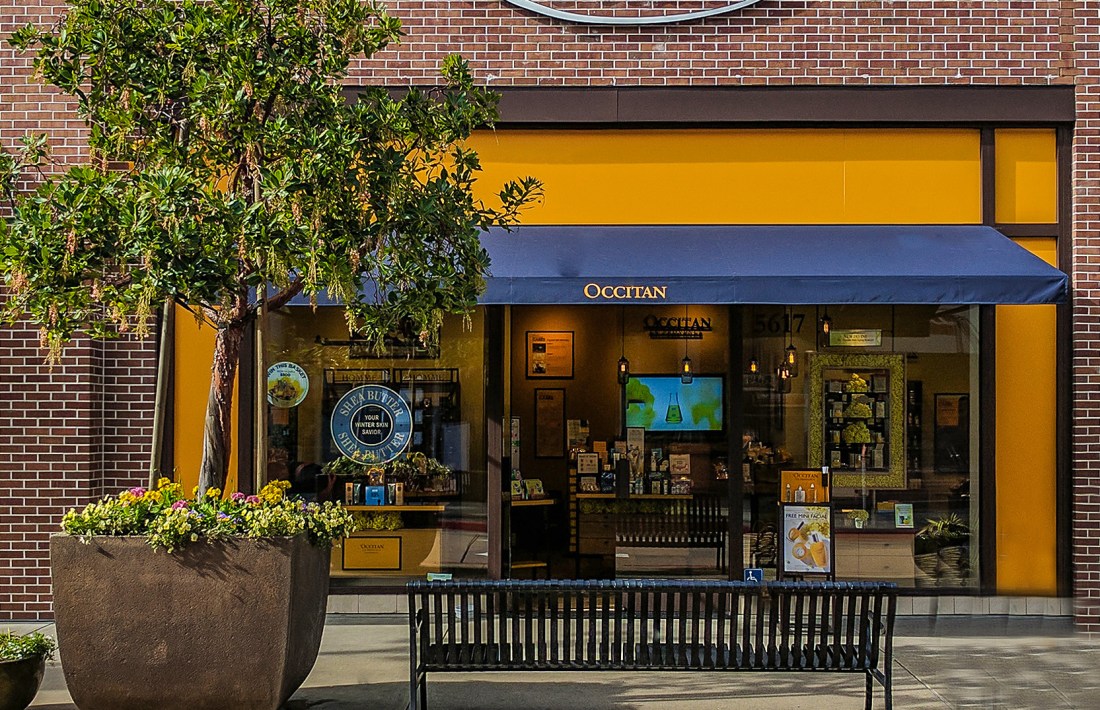
To complete this assignment I had to change the coloring of the photo to look more natural. In the first photo there is more of a yellowish color which doesn’t give off a good look. In order to fix that I had to change the saturation, lighting and hues. I was told to use more of a blue hue to get rid of the yellow lighting.
Angles & Shots


In the first two pictures of the pole we have a focus shot. Basically meaning that if you were to look at the picture your eyes will automatically focus on one thing. In the third picture there is the masking shot and an alignment shot. Its coming from the left angle and is also aligned with the bar on the side. In the last photo there is the up close shot.
Teeth Whitening

To complete this assignment, I had to learn how to whiten an object. In this case it was an individuals teeth. I used the lasso tool to select the area I wanted to whiten. After that I had to create a layer to change the lighting, saturation and hues. Once that was completed I just used the brush tool, to have some finish touch ups.
Adobe Character


Store Front Corrections
 For this assignment i was learning how to take away, replace and clean a photo up. I was taught how to use the stamp tool by using the alt, and ctrl button as well as using the mouse. The stamp is used to take a part of the picture than replacing the other part with what you stamped; duplicating.
1st Set of Pictures


The first picture is a long shot of the pole. This is where you can’t see much of the characteristics of the object. In the next two pictures the object gets closer and you see less of the its surroundings and more of the characteristics. These are called medium shots. Lastly, there’s a close up. The close up allows you to focus only on the details of the object and directly takes your attention.
Video #2
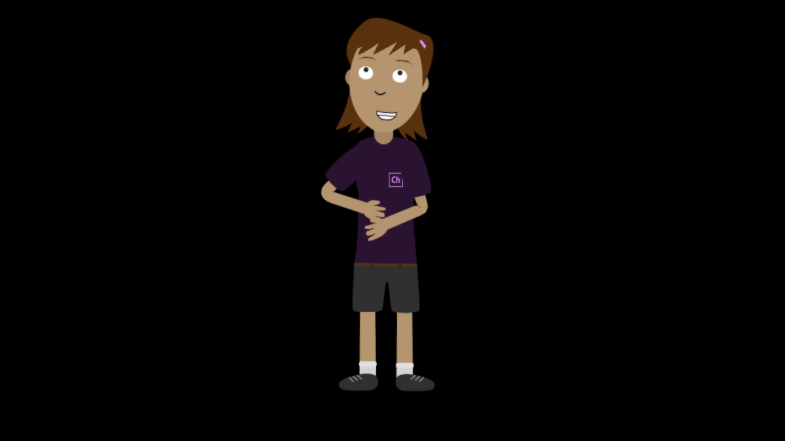 In video number two, I was taught how to move the character Chloe and record the movements as well. Not only did I work on that but I also worked on blending the video so the actions of the character was more clear and smooth than it was before. I was also shown how to react with the Chloe’s mouth by setting a pose for it to connect to the character which allowed Chloe’s mouth to move with mine so its seemed like she was speaking as well.
HomeScale